A personal sewing challenge
Hi everyone!
Here I am after a long time without much blogging due to being suuuper busy with other aspects of the business, but hey, here I am! And I wanted to write today about my experience with the #cocowawasummersewingchallenge (I know, such a long hashtag, hehe) that I organised myself to organize (again) the garments I wanted to make for my approaching holidays, also in order to give you some tricks and tips on how you can do that as well.
The idea started as I realized I didn’t actually have many handmade clothes for this sort of trip and also seeing how many of my RTW garments where quite old and well, do you actually need an excuse to make lots of lovely clothes? 🙂
So even though I am a big supporter of the #slowsewing movement, I really wanted to make and wear handmade clothes for and during my holidays (and also building up a wearable Summer capsule wardrobe to wear next year and the next…), instead of just go shopping which is something I haven’t actually done in ages (only for shoes or backpacks or similar…).
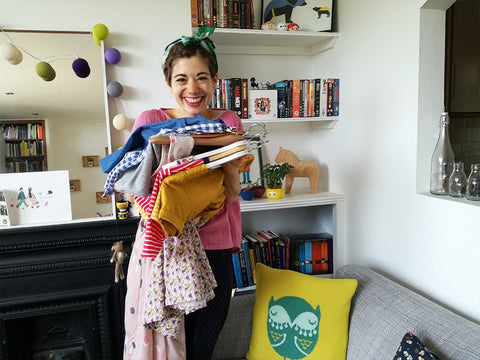
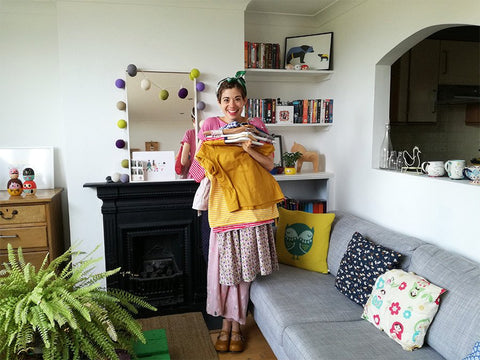
So! After a lot of planning and discipline I managed to make 12 garments (what!? Wow! Now that I see the number 12 written down I am in shock! Yay!) for this year’s trip and summers ahead within the 6 weeks I had in mind and even finishing a bit earlier.
As I have my full time job running CocoWawa and selfish sewing is not really part of the deal (I wish it was though!), I had to devote sewing to evenings and weekends but in the end I pulled it off. The only garment I didn’t manage to finish because I decided not to include it, was the bikini. The handling of the materials (I hate you Lycra!) and also having other things to finish, made me take the decision and I don’t regret it. The pieces will be waiting for me next Summer 🙂

How to plan a sewing capsule wardrobe
Regarding the process, I’ve summarized the whole thing from starting to end and I am going to give you tips along the way on how you can do it yourselves as well. So, let’s start!
1. First of all I sat down with a piece of paper (if you like bullet journals this is a great way of using them) in front of me to write down all the garments I thought I needed to make for this trip/Summer in general.
For this I first looked into my RTW and handmade wardrobe to see what was lacking. Shorts? More t-shirts? Less prints and more solids? A Summer dress? Comfy clothes to wear on long trips? This also helped me realized that some of my old “bought clothes” were a bit dodgy and not very wearable any more. Some I gave to charity, some I kept to copy. The same happened with a few of my #memade garments.
2. With my list ready (I saw that I needed a few t-shirts, a comfy Summer dress, a swimsuit, shorts, long comfy trousers, a skirt, a few tops and something fun as well), then I went straight to Pinterest. There I created a board (in my case, I did a private one as I didn’t want people to see it) with general inspiration for the garments I wanted to make. I typed “shorts” or “fashion inspiration” or “Summer dresses” and started pining. This way I saw the type of colours, prints and shapes I was drawn into.
3. At this point I had an idea of what I wanted to make but now I needed some pattern inspiration as well 🙂 For this I went to The Fold Line to search their amazing data base and started a search based on the garments from my paper list and the things I had found on Pinterest. I started searching for all the garments I needed and wrote down the ones that interested me. As it was a very long list, I then headed to Instagram to decide between patterns and my list was ready.
I also tried to use as many of the patterns I already had on my stash and also found a few freebies which helped a lot.

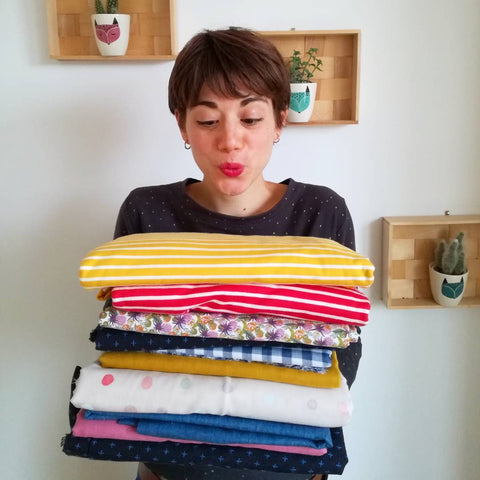
4. With my final list ready (head over to YouTube to see the ones that made the list), I then started the horrible, arduous task of finding the fabrics 😉 For this I also created another Pinterest board where I uploaded a pic of the pattern/garment and also where I also uploaded all the fabrics I wanted to use. The fabric search was a tiny bit more difficult/longer as there were way too many fabrics I liked, hehe.
What I did is went online, searched on my favourite fabric shops, looked for sales and bargains and even went in person to see a few. During this journey I started uploading all the pics from the fabrics I liked to Pinterest and then I paired them with the patterns. And as I said, this took me a couple of weeks (remember that I was doing this on my free time).
But in the end I managed it. There were only a couple of unexpected events like for example one of the fabrics I looooooved was just available only for pre-order and I learned that it was not going to make it on time before my holidays, so had to change it and this led me to change one of the patterns I selected at the beginning as well.
I also had to have in mind shipping and delivery times (3 of the fabrics came from Japan) in order to organize everything better.

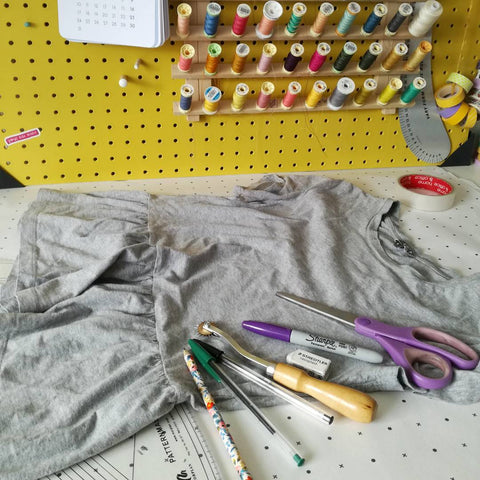
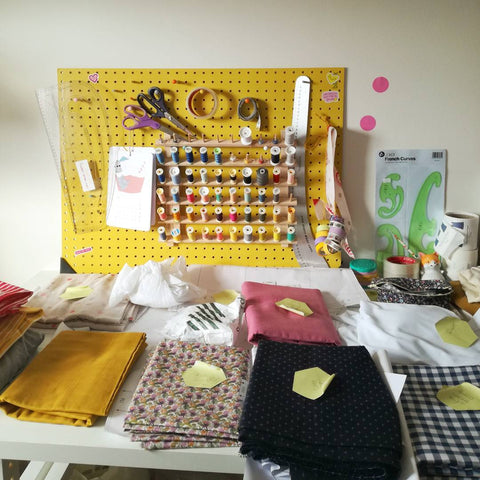
5. After this, I made a final list on a doc that I kept on the computer with all the patterns and fabrics. Updating for example if I’ve had received the fabric or not, if I needed to buy thread or other materials, if the pattern was on paper or pdf (I kept the pdf for this on a special folder along with this doc) and then I started printing, drafting and/or tracing all the patterns on my size and making any adjustments needed.
I then placed them all on my sewing table and as soon as the fabrics arrived, I then paired them with their specific pattern.

6. At this stage I was almost ready to start sewing! I even had threads and other elements like buttons, etc… ready and next to each project to facilitate the process. But before this I had to start cutting, glups! So much cutting! I have to admit it was very tiring but managed to cut almost all projects before starting.
7. Then, sewing started! Some days I had more time to sew so I managed to finish even two projects, others lasted for 3 days because I was too busy. Then the “bikini situation” came in and instead of loosing time I just accepted that it was not going to happen and that I preferred to keep on working on the rest.
In the end I managed to make almost all I wanted to make and the experience, even though a bit stressing, has taught me that planning your makes is soooo much better (at least for me), than just making things for the sake of making them.
Sitting down, analyzing your current wardrobe (RWT and handmade), searching for patterns and fabrics that you can actually combine with the rest of your clothes and finally, making the whole project, has being a great learning experience and something that I will do again (not as a challenge, but when new seasons come along).
This way I can be proud of the handmade wardrobe I’ve created and mostly, of the clothes that now I know will wear to death because I put a lot of thought into them and they are actually wearable. And sure, I will throw some fun items in there as well – no thought, just because I love the pattern or just because I’ve seen that amazing fabric I can’t live without 🙂

I will do another mini Autumn and Winter capsule handmade wardrobe this year and I am sure I will love the experience even more 🙂
Hope you liked the post and that this will help you or maybe encourage you to plan a capsule wardrobe for each season.
Happy sewing and see you soon!
xxx
Ana