Sewing a concealed zipper right every time
Yes, we all dread a bit (or a lot) sewing an invisible zipper. Even with experience under your belt, it is that one technique that can make you sit a little bit straighter at your machine or slow down your pedal.
We all want that perfect, invisible, concealed zipper hidden in between two seams and if there is some pattern matching happening there as well, the better! :)

Now, if you are a complete beginner, I have written this tutorial specially for you. You may have attempted invisible zippers a couple of times with no luck or maybe haven't yet for fear of messing up, but no worries, I got you!
Tutorial: sewing the perfect invisible zipper
When you are dealing with a new sewing technique or if you have had trouble getting it right, I always recommend using some calico or fabric scraps to practice until you fill confident enough to do the technique on the garment you are making.
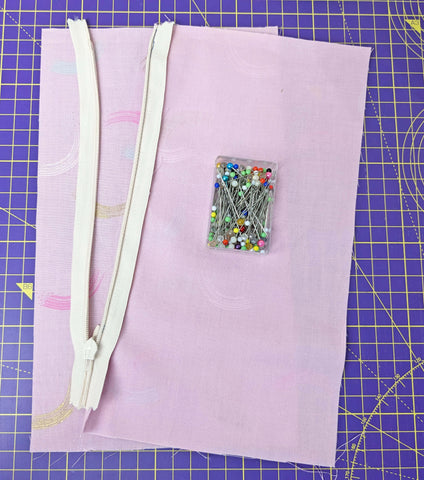
When you find your practice fabric, press it and cut two rectangles measuring about 30cm x 15cm each; making sure that the longer side of the fabrics is longer than your zipper. Get a few zippers to practice, just in case one breaks, and use a contrasting thread to be able to see the stitches properly.
*The two pieces of fabric will imitate the back of a dress, the side zipper of a trouser or the side seam of a skirt, for example.
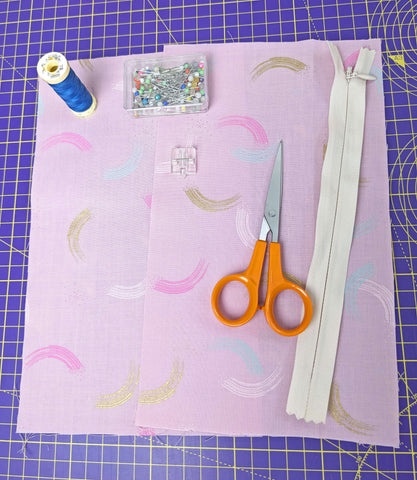
Now, pick up your invisible / concealed zipper presser foot (this is ESSENTIAL!) and you are ready to go :)
Steps for a great zipper technique
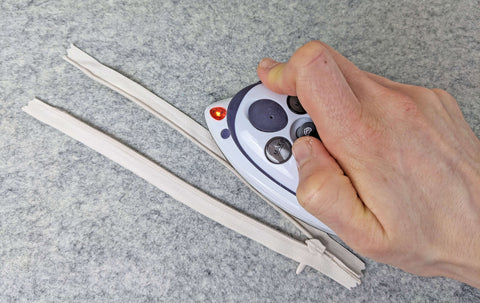
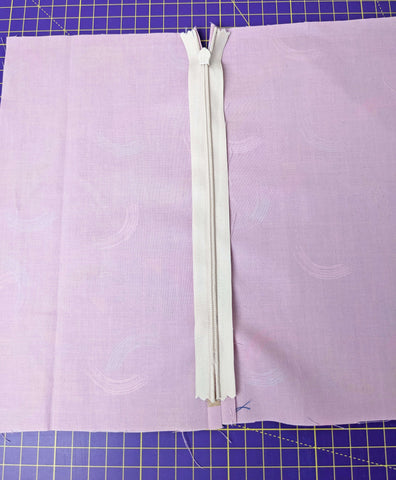
1. Open your zipper as far as it will go and gently press the zipper teeth away from the tape. Be careful not to melt the zipper teeth though! This will help with the stitching part later on.
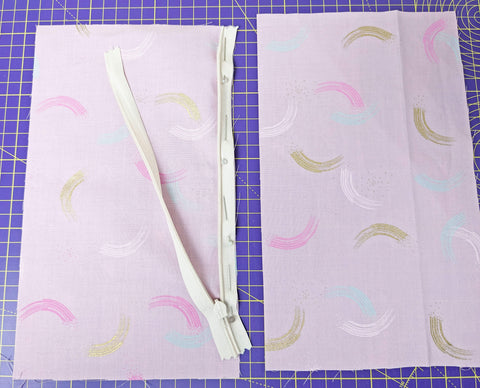
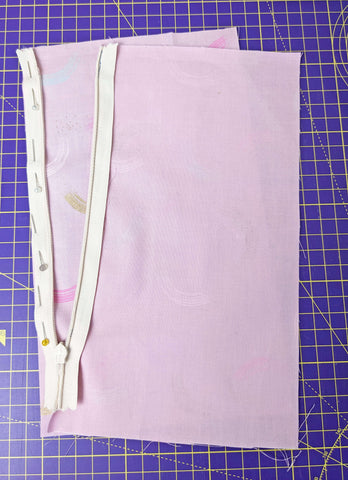
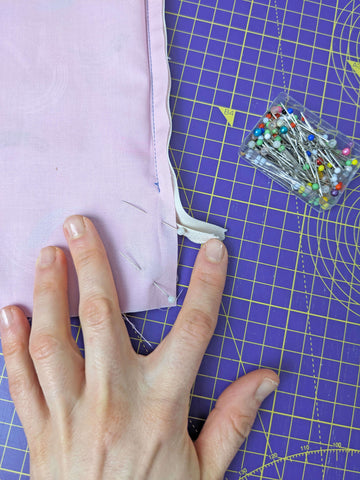
2. Pick up one of your fabric pieces and place the right hand side of the tape of your zipper down the lefthand open edge of your fabric, with its right side facing up. Pin in place as shown below.
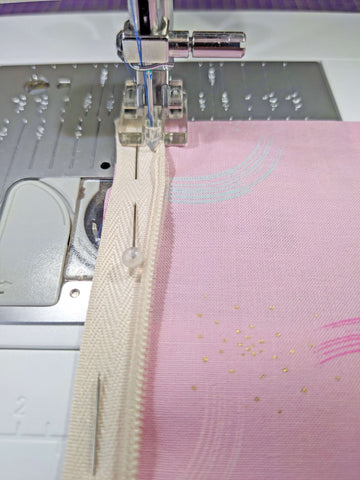
3. With the invisible presser foot installed on your machine, start sewing from the top making sure that the teeth of that side of the zipper are inside of the lefthand tunnel of the foot. You are stitching to the right of the teeth, very close to them.
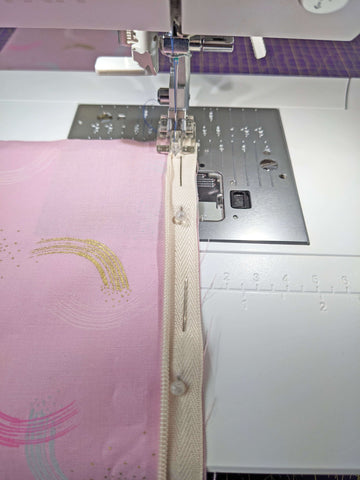
It is quite common, if it's your first invisible zipper, to sew through your teeth by mistake so go slowly, making sure that the teeth are within the tunnel of the foot all the time. Reverse stitch at the beginning as sew as far as you can, till you reach the metallic head of the zipper. Backstitch at the end.
4. Press gently the zipper away making sure your iron only contact the fabric on the right side.

5. Now, flip the fabric with the side of the zipper already stitched so that it faces your other fabric with right sides together. Pin the loose zipper tape down the righthand edge of the other fabric piece.
Sew in the same way as you have done before. In this case, the teeth will be in the righthand tunnel of your zipper foot.
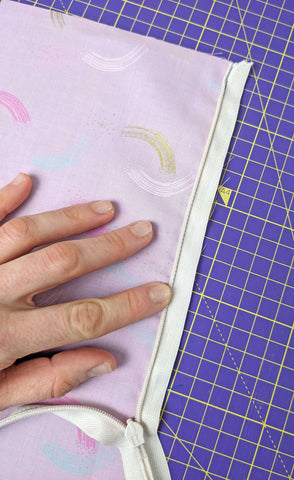
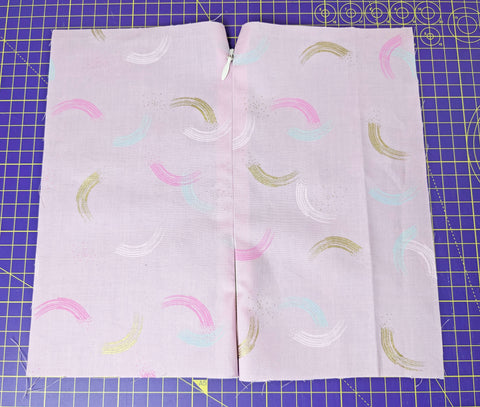
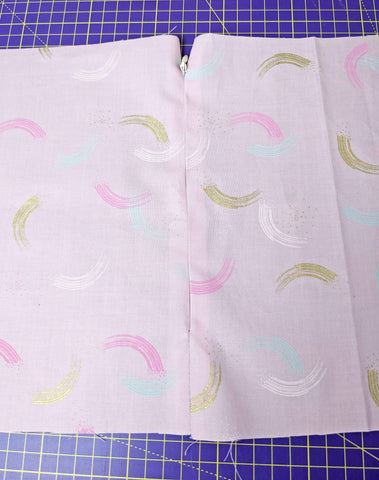
6. Press again and turn your fabrics over. Close your zipper and take a look at how your invisible zipper looks, or doesn't look, because you have done such an amazing job that you can not even see it! :)
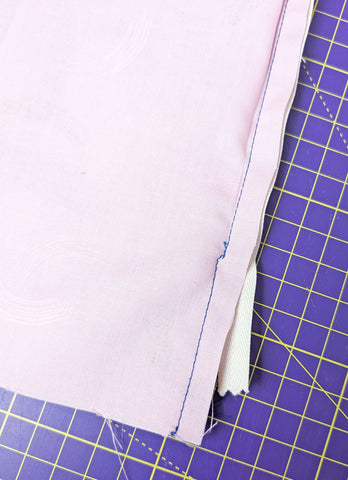
7. Now, if these were let's say a pair of trousers or a skirt, you would need to continue sewing the seam down from where the zipper ends to the hem or if it was a bodice, to the end of the piece.
With right sides together and moving the bottom tail of the zipper out of the way, pin and sew with your regular presser foot and suggested seam allowance as close as you can from the last stitch you did before. If you still get a little gap, you can use needle and thread and hand sew it close.
And now, you can admire your amazing invisible zipper in all its glory! Apart from this post, you can also follow this tutorial on the CocoWawa Crafts YouTube Channel and, if you want to practice your concealed zipper ability on a garment, make the super cute Cinnamon Trousers :)
Thanks for reading and happy sewing!
Ana
xxx
FIND ALL COCOWAWA PATTERNS
SUBSCRIBE TO MY YOUTUBE CHANNEL