Hi makers! And welcome to the last week of the Quiltsew Along for the Quilted Nutmeg Jacket :)
This time we will finish sewing the jacket, adding the bias tape to the bottom hem and front bodices, as well as attaching the snaps (or buttons and buttonholes if that's what you went for).
I will also talk again at the end about the giveaway and how you can take part! Shall we start?
THE SLEEVES ARE COMING IN!
We are going to start by sewing the sleeves.
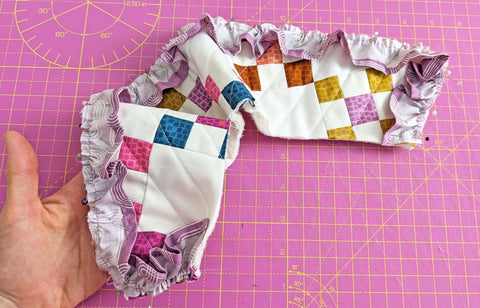
1. Pick up one of your sleeves and finish the bottom raw edge with bias binding. You can use the same bounded seams technique of last week. It is easier doing this step first when the sleeve is open.
In this case, as the bias binding will seen on the outside, pin the bias tape first on the wrong side of the sleeve and then flip it to the right side. This way you will hide your stitches if they turn up not very neat (as it happens to all of us ;))
2. Now, if you haven't changed much or enough the crown of the sleeve so that it doesn't need any gathers, move to step 3. If, like me, you still need to ease in the sleeve, sew a line or two of gather stitches between the gathering marks you will find on the pattern piece.
Pull gently from the threads.

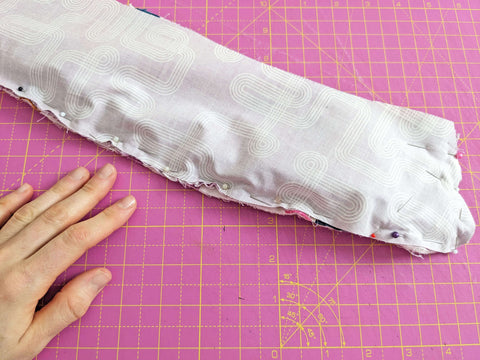
3. With right sides together, pin the underarm seam of the sleeve, making sure the bottom bounded edge matches on both sides. Sew using a 3/8''/1cm seam allowance.
Proceed to bound that seam as well, trimming the seam.
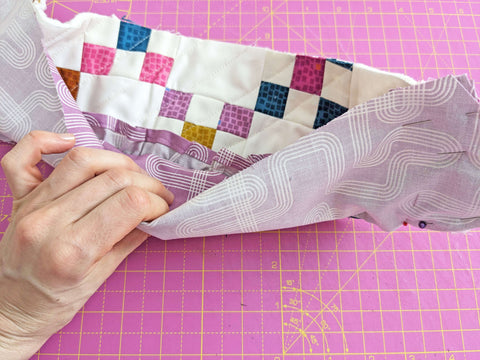
4. Turn the sleeve right side out and with your bodice piece wrong side out place the sleeve right sides together along the armhole. Pin matching notches (front, back and crown of sleeve with shoulder seam and also side seam with underarm) and, pulling slightly from the gather stitches (if necessary), align both pieces and finish pinning.
Sew and finish that seam. I went for the bias bound technique again but, as it is a bit trickier doing it on the round with not much space and quite a bit of bulk, you can always use your overlocker. Repeat on the other sleeve.
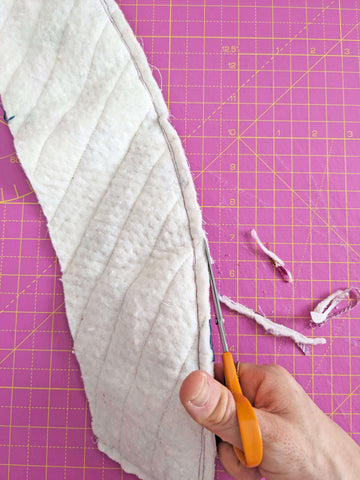
5. The next step would be to also finish that seam. It is just a bit more challenging as it is in the round. Follow the same technique as before. If it gets too difficult, you can always use your overlocker.
Repeat with the other sleeve.
ADDING THE COLLAR
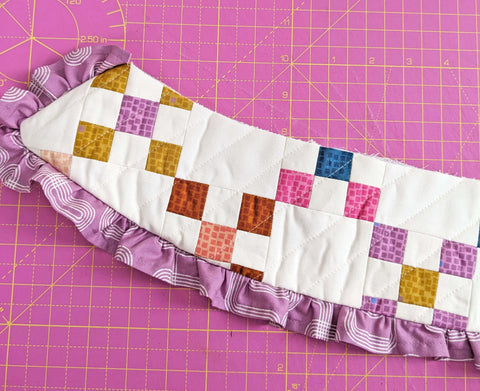
The next step would be to make the collar. The upper collar piece will be the one quilted and the under collar will be the lining, as a separate piece. You will also have the ruffle (if chosen).
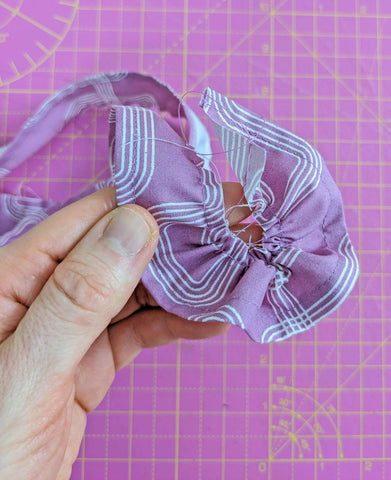
1. Pick up your ruffle piece (if chosen) and fold one of the long edges twice by 1cm and press. Pin and sew close to the inner fold.
2. Sew two lines of gather stitches within the 3/8''/1cm seam allowance along the oposite long edge of the ruffle. Pull gently from the gathers till the ruffle measures the same as the outer of the quilted collar piece (upper collar).
3. Pin with right sides together and raw edges matching and baste-stitch in place. Take your time on this step as it can be a bit fiddly. Distribute the gathers evenly.
4. Place your lining with right sides together on top of your quilted upper collar piece and with the ruffle in between. Pin and sew using a 3/8''/1cm seam allowance. We are leaving the top of the collar open completely to turn it to the right side.
5. Trim that seam in half, turn it to the right side and give it a nice press!
6. Take your finished collar and, matching notches, pin it along the neckline of the outer shell of your jacket. Sew in place.
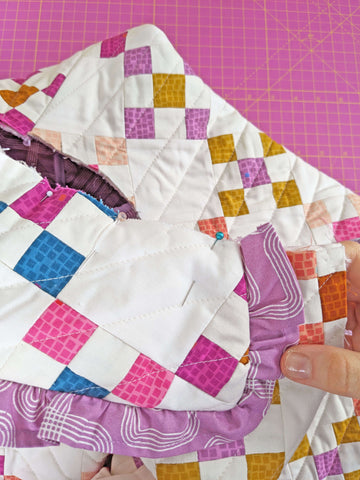
7. Now, we are going to finish that seam with bias binding, but in a slightly different way. Take your bias tape and iron out one of the folded edges. Pin it around the right side of the neckline, next to the raw edge, starting at the top of the button placket of the front bodice and finishing at the opposite side of the button placket. Leave 1.5cm/5/8’’ of bias tape at either end to be able to fold it later in order to achieve a neat finish.
8. Stitch the tape all around the neckline using the line of the fold you pressed out as a guide (this line may vary depending on the bias tape used but it should be 1cm/3/8’’ away from the edge).
9. Now clip the seam allowance (head to the glossary to learn more) and press the tape away from the bodice as well as the seam. Understitch. Do this as close as possible to the seam line on the tape side and catching the actual seam underneath). Shape the tape with your fingers pressing it all around to make it lay flat.
10. Turn the bodice wrong side out and press the tape towards the inside of the bodice. Also press under the extending ends of the bias binding. Your bias tape will cover now the seam you have just finished on the previous step. Last, edgestitch the tape to the neckline on the wrong side of the dress, next to the fold. Give it a final press.
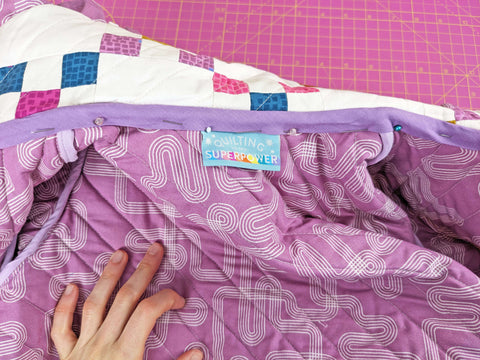
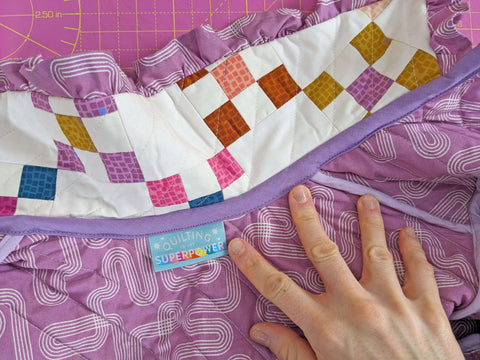
Here, you can add a cute label if you want (mine is from Sarah Hearts).
BINDING AND SNAPS
There are just a couple of steps left and you will be done! Come on, you can do it! :)
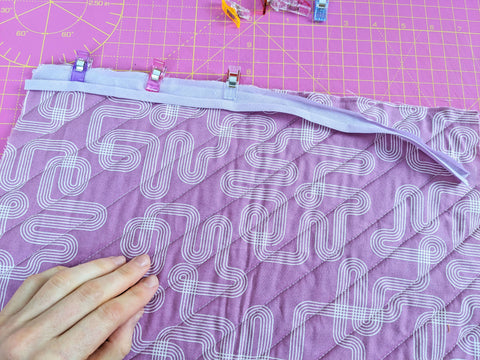
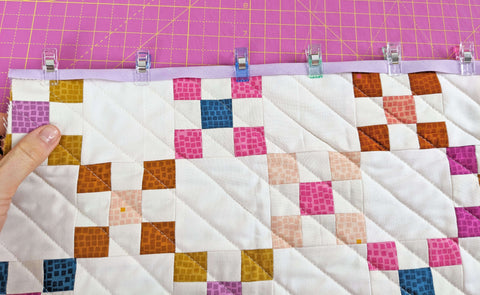
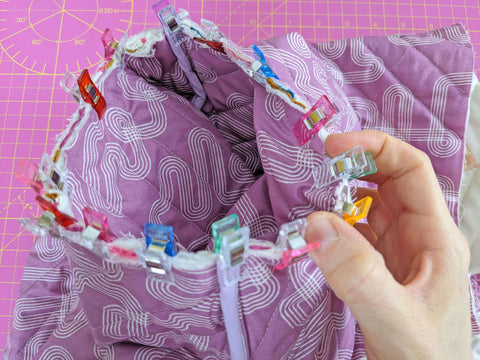
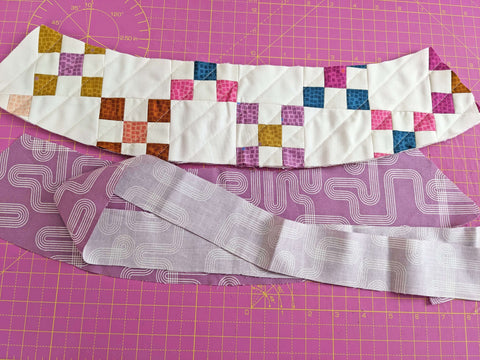
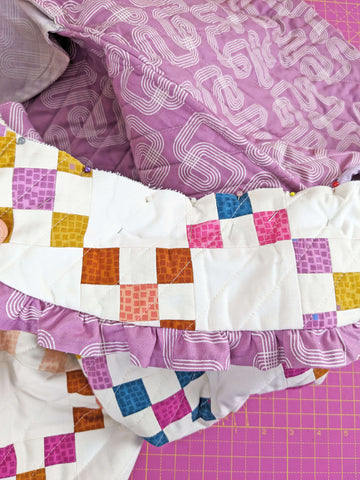
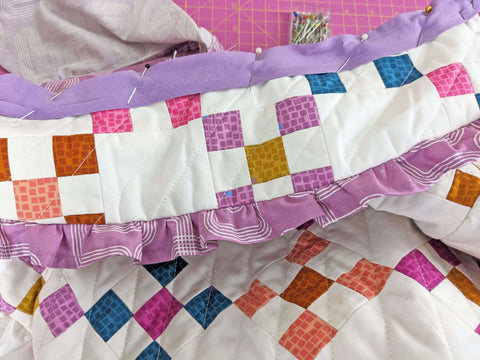
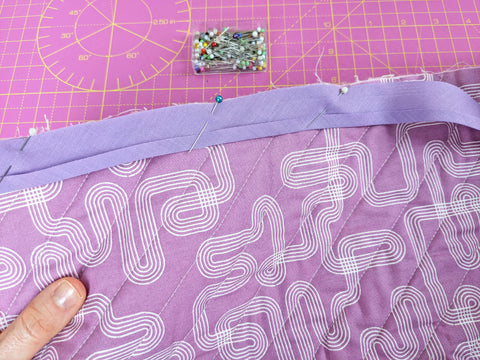
First, we are going to bind the raw edges of the front bodices (if you trimmed the front placket. If you did buttons, follow the steps on the instructions), as well as the hem of the jacket. We will be using the bounded technique again here.
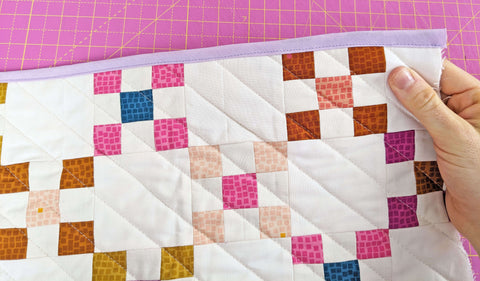
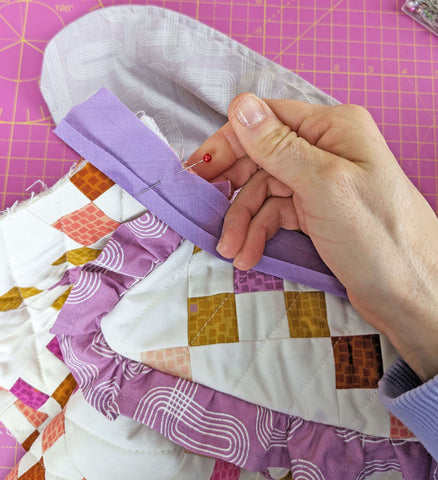
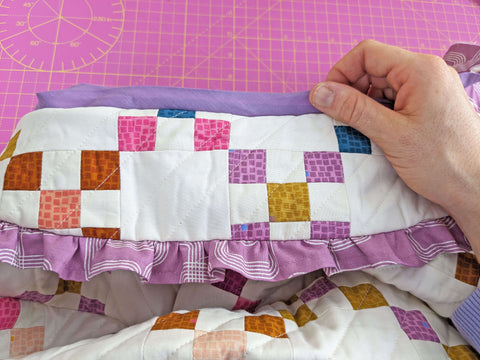
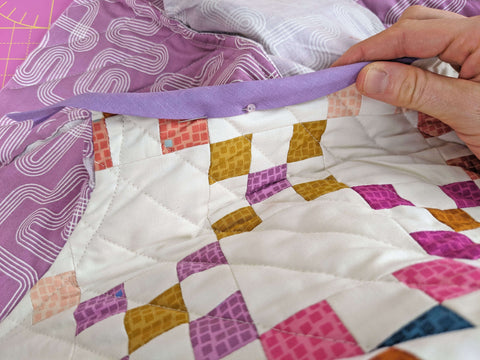
Here, we are going to start by pinning the bias tape to the wrong side first, as the binding will be seen on the outer shell of the jacket, like with the pockets. I also rolled the seam like I did with the binding on the collar.
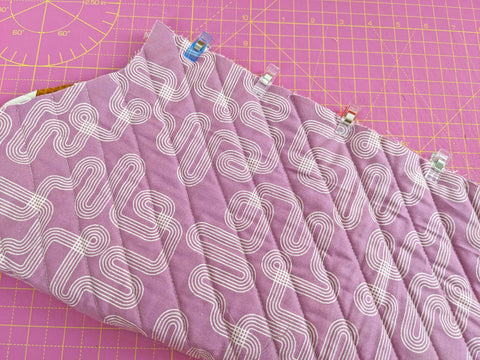
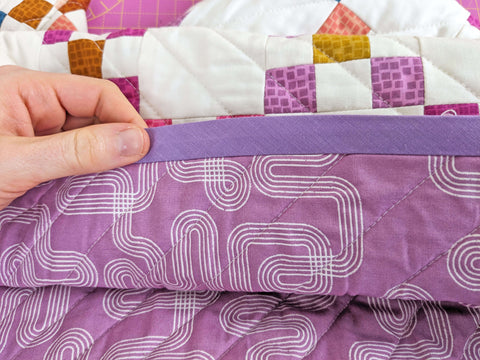
Do exactly the same with the bottom of the jacket.
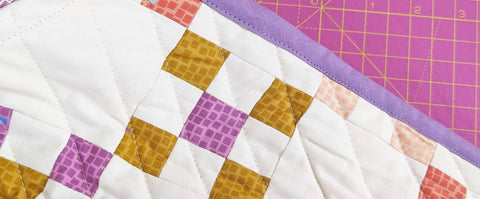
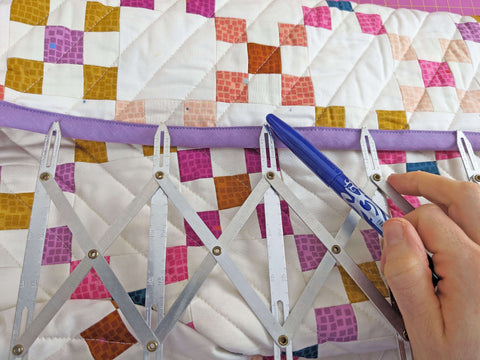
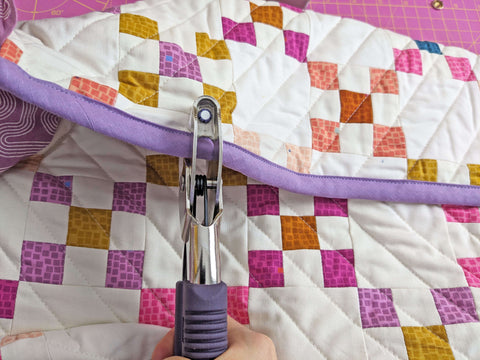
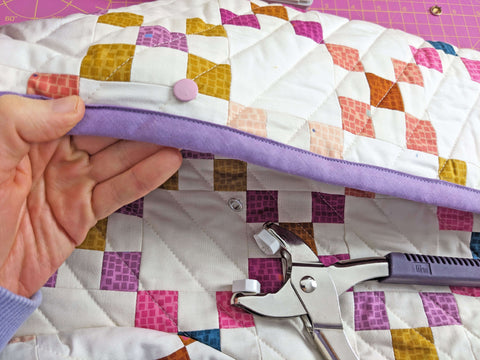
After finishing those, you can then add your snaps (or sew buttonholes and buttons), following the marks on the front bodice pattern piece.

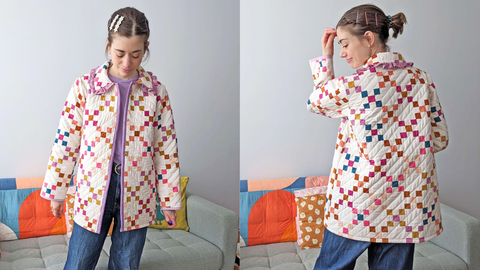
And now... try it on and dance! Hooray! You have finished! You should be SUPER proud of yourself and of this project. It is a labour of love and I hope you are happy with the result :)
Now, remember that you can enter a special giveaway for a chance to win these prizes from five amazing companies (there will be 5 winners, one for each prize):
- The lovely Pigeon Wishes has offered £40 to spend in her shop and she ships internationally.
- A Beautiful Thing will send a lucky winner a charm pack of their choice, shipping internationally as well.
- Lamb and Loom is giving away 4 yards of knit fabric, winner’s choice. She is offering free shipping to a US shipping addresses, or $10 off any international address.
- Ethel and Joan has created a great £15 gift card, for any international winner, to spend in her button and jewellery shop.
- And last, Sarah Hearts will send two packets of her amazing labels to another winner.

You will have until the 29th of February to take part sharing your version of the jacket on Instagram and using the hashtags #cocowawapatterns, #cocowawaquilts and #cwquiltednutmegjacket. You can also tag me on your post so that I don't miss it :) I can't wait to see what you have made! I will announce the winners on the first week of March using an online random picker page.
Thank you so so much for following along. It has been a pleasure. You can contact me at any time on Instagram or by email at hi@cocowawacrafts.com if you have any doubts.
Happy sewing and quilting!
Ana
xxx