You need these quilt kit if you are a beginner
or if you want to up your quilt game
I am sharing with you today some of the basic quilting tools that I use on a regular basics and the ones that I bought first to up my quilt game :) Some are optional and others, you will find very useful for speeding up the quilting process.
In the list below, I describe the ones that are more specific for quilting, although you might use as well just regular sewing tools that you may already have if you are for example a dressmaker. Among those, you will find fabric scissors, fabric pens, chalk and similar fabric markers, unpicker or seam ripper, pins, needles, tape measure, paper scissors...
My basic quilt tools
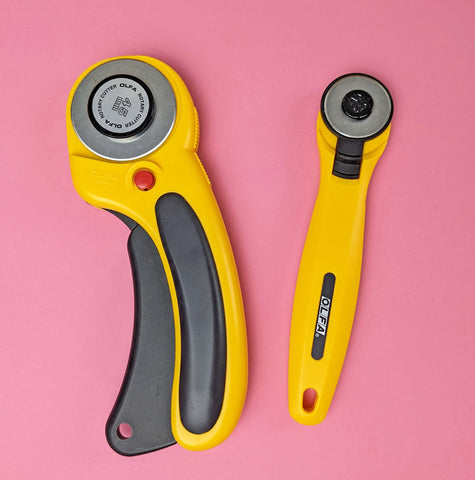
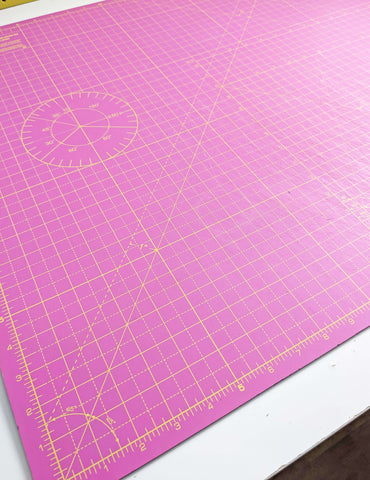
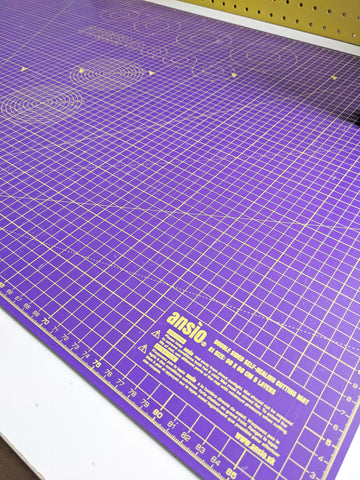
- A rotary cutter and a cutting mat: these are essential when cutting fabric for a quilt. You can achieve much more accurate results than with tailor scissors. You will need a self-healing cutting mat as well. Mine has a side with imperial measurements and the other, metric.
I also recommend pattern weights or a quilting ruler to keep the fabric in place while you cut (you can still use pins if you want, mainly if the quilt pattern you are using comes with templates that you need to print in paper).
Regarding the size of the blade for your rotary cutter, I suggest two different ones. The 28mm for cutting curves and the 45mm size, best for cutting bigger pieces and strips of fabric.
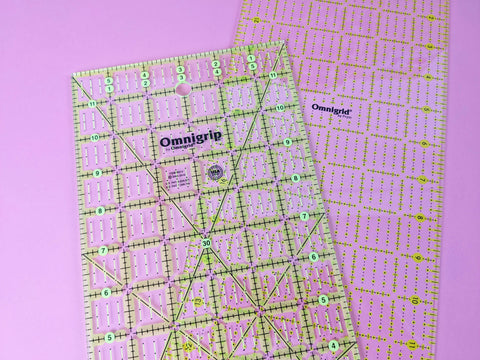
- A quilting ruler: after much research, I found that the ruler that you can see in the picture above, a non-slip Omnigrid measuring 6''x12'', was the best option for me. You will find lots of different sizes and brands and of course you can research more and find the one that works best for you. There is another Ominigrid size that I found very useful and it is the 6''x24''. Longer and perfect for cutting WOF strips (WOF means width of fabric).
-
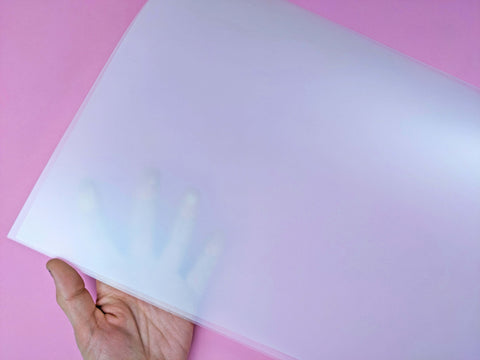
Template material: I think this is the best discovery I made when I started my quilting journey. After realising that when using a rotary cutter and a normal paper pattern piece you end up cutting, very easily, your pattern piece over and over again (as the blade is so sharp) when cutting your fabric, I searched for an alternative and found it!
This plastic material offers resistance against the blade of your rotary cutter and you just need to transfer or copy the pattern pieces onto it and then cut the material as you would normally do with paper scissors.
Now, I would only use this if I am using a template for a quilt with curves. If I need to cut squares or rectangular pieces, I just use my quilt rulers and no template.
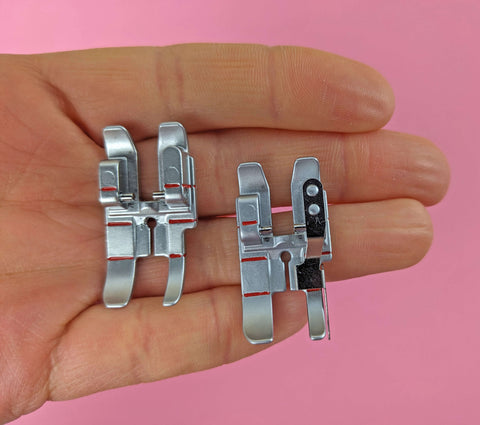
- A 1/4'' quilting seam piecing presser foot is a great help for keeping a consistent seam allowance all throughout your project -when a 1/4'' seam allowance is required, which it is usually pretty standard on most quilts.
-
Walking foot: yes, branded walking foots are expensive, but they are great for when you reach the quilting part of your quilt. The walking foot 'grabs' your quilt as you sew, helping you to avoid wonky lines. Go for a real one, rather than a cheap version that can break your sewing machine and remember to use it at a low speed. Walk with it as you sew :) Your stitches will be more accurate and it will help keep your tension even.
My current machine, a Pfaff Quilt Ambition 630, comes with its own walking foot already attached thanks to the IDT system, which translates to Integrated Dual Transportation. I am happy with it but sometimes I do find that my old walking foot did the job better.
-
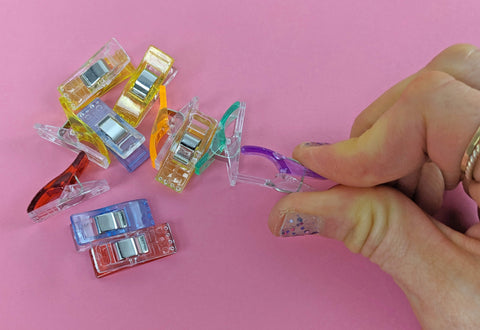
Wonder Clips: I might be calling them Wonder Clips here, as it is their official branded name, but I actually found similar ones online for half the price; and they basically do exactly the same job! In this case, you can go for the cheap version and not regreting it.
I use these clips instead of pins for holding several layers of fabric together when pins are not strong enough and also to keep the binding in place when hand sewing it. These are also great for dressmaking or accessory making when using thicker materials like fake leather or canvas and also to avoid pins leaving holes on your fabric.
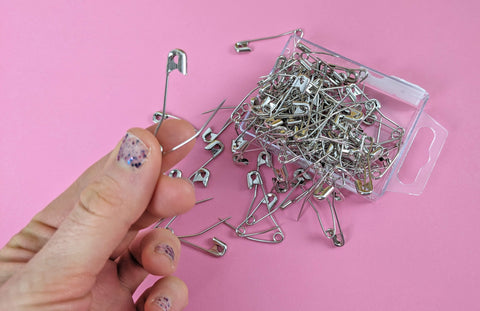
- Curved safety pins: these type of pins are used to keep the three layers that form a quilt (top, batting and backing) together for the quilting part (this stage is called 'the quilt sandwich'). They are easier to remove as you go than normal safety pins and more reliable tan pins. You can also keep your layers in place by baste stitching your quilt.
A trick when using safety pins is to store them open, so that they are ready for the next time you need to use them. Some quilters don't even close them on the quilt itself so they are even easier to remove while you quilt.
-
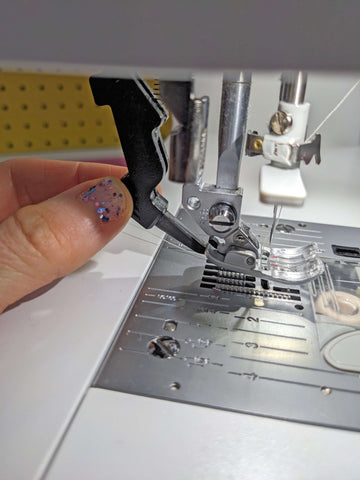
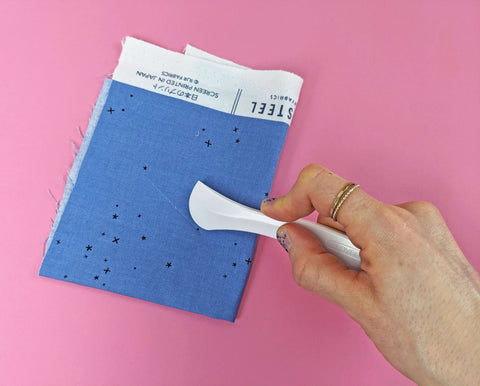
Hera Marker: this is another discovery I made when starting my quilting journey and that I absolutely love. When I was about to quilt my third quilt I was wondering how I was going to create the design I wanted on the quilt top without using fabric pens, chalk or a similar marker. I didn't want to leave any traces but I needed some sort of mark to follow.
Then, I found this chalkless fabric marker for creating sharp lines directly onto fabric. And it does just that! It leaves a soft mark that you can easily follow and that later disappears. My only con would be that it doesn't give you the precision that other tools like a fine fabric pen would give.
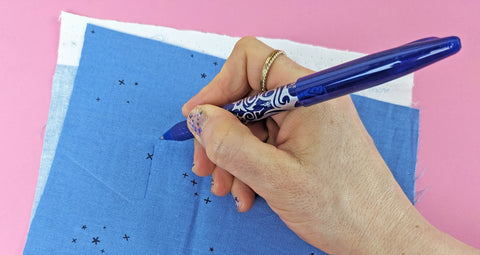
Another tool for marking that I use constantly is my Frixion pen. A regular Pilot pen in blue that goes away when applying heat to it with your iron. But remember, always test on a scrap of fabric to make sure it does really goes away.
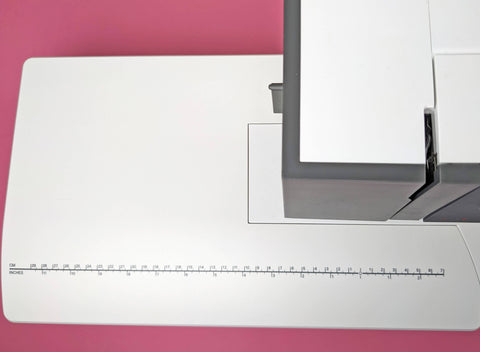
- Quilting table extension: my old Janome and my current Pfaff both came with a table extension for quilting. It is not mandatory at all but it has always been useful when quilting a big quilt.

- Embroidery needles and floss thread: another optional element if you want to give a go at hand stitching your quilt top instead of using your sewing machine.
And that's it, for now! There are of course many more tools that you can use when quilting, but I have found that a combination of these (or some of these) and your regular sewing tools would set you up for a successful quilting journey :) I will be posting more niche and specialized gadgets and tools in the near future.
I hope you find this post useful and that you are ready to tackle any quilt pattern!
Happy quilting,
Ana
xxx
FIND ALL COCOWAWA QUILT PATTERNS
JOIN MY BEGINNER QUILTING FACEBOOK GROUP