Fabric scrap bunting easy tutorial
Hi ladies and gents! How has the week been so far? Did you finish any of your sewing projects?
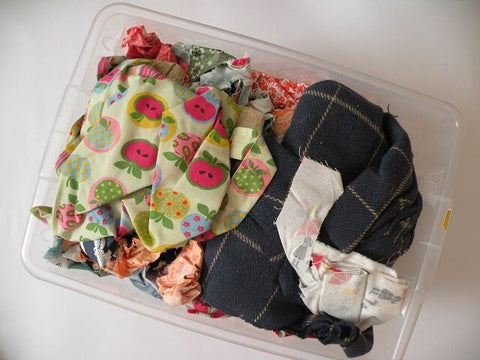
I was tidying up my sewing room, well kind of (hehe!), when I found a bag full of scraps of lovely fabric coming from old sewing projects, that I couldn't throw away (too nice and some were quite pricey as well) and thought what could I do with them... After some Pinterest and Google action I found some cute projects to reuse all that fabric and one that I really loved was making a fabric bunting using those scraps :)
So... I set to work and prepared this super easy tutorial so that you can also practice some #ecosewing at home and reuse all those fabric leftovers! :) Ready? Let's go!
1. Choose 7 scraps of fabric. I loved mixing them up, the crazier the better! :) Then give them a good press.

2. Cut an equilateral triangle shape of approximately 10 cm each side. You also need to draw a rectangle shape on one of the sides to create the seam that will be used later to encase the piece of cord, rope or string while sewing. This should be 2 cm wide. When you are done, press the rectangle towards the triangle, wrong sides together.

3. Get your piece of string (mine was 150 cm long but you can make it as long or as short as you want. Just have in mind where will you be hanging the bunting) and one of the triangle shapes. Fold the rectangle part wrong sides together encasing the string and stitch next to the rope itself, close to the fold. Repeat with each triangle of fabric leaving a distance of aprox. 5 cm between each of them so that they are evenly distributed. Also remember to cut the little corners of fabric that are showing on the sides next to cord.

Fold the rectangle to hold the cord and pin in place.

Pin all the triangles leaving a space of 5 cm between each other.

Stitch each one of them close to the fold and the cord.
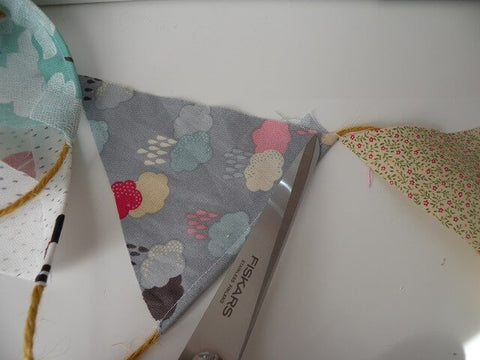
Clip those little corners on the sides.
4. Last! Find a nice place at home to hang it and you're done! :)


Hope you liked this post my lovely friends and see you here again next week!
xx
Ana