Apart from an accurate cutting and a neat piecing technique, pressing is one of the most important steps when creating the top layer of a quilt.
If you want for your blocks to fit together like a jigsaw, you should spend just as much time pressing as you do sewing. But no worries, I have a list of tips and tricks that will help you on your quilting and pressing journey :) Shall we start?
How to create a neat quilt top
Pressing Seams: Tips and Tricks
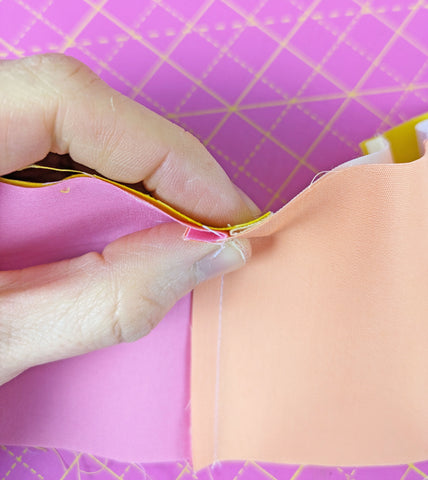
- First, set the stitches by pressing them flat together on the wrong side.

- Then, finger-press the seams together towards the darker fabric if pressed together is your chosen option. If not, finger-press the seam open. Avoid shadowing of darker fabrics on lighter ones.


- Press the seams either together or open on the wrong side of your block with your iron. Do it with gentle taps, not moving the iron as when ironing a garment -this could distort the shape of the block and its dimensions. Use starch spray if necessary when facing a bulky seam.


- Don’t use steam when pressing a seam or to get rid of wrinkles on your fabric, unit or block. Spray with water and press gently with a hot, dry iron, again to avoid stretching the block.
- Finish by pressing the seam on the right side.

- For curved seams:
- First, decrease the stitch length.
- Then, press the seams together towards the outer piece (the seam naturally faces that way), then open them and start pressing on one side, getting to the centre, then rotating and finishing pressing.
- Give it another good press to the whole thing and on the right side of the fabric.


Seams Pressed Open vs Together
There is a whole debate within the quilting community regarding how to press seams and you will find plenty of blog posts and videos discussing the matter. In my case, I choose one or the other depending on which method works best for the block / quilt I am making.
Usually, I tend to go for open seams as they create flatter quilt tops which make the later quilting process a bit easier, also helping to avoid bulk when lots of seams come together at the same point.
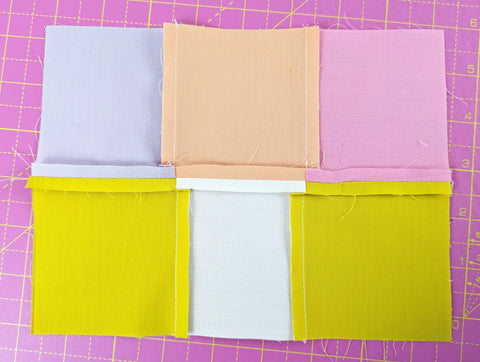
Having said this, I find open pressed seams weaker than those pressed to the darker fabric (or to the side in general). As the seam is being pulled in opposite directions, there is more strain on the seam itself.
On the contrary, seams pressed together are faster to press and if a light fabric is pressed towards a darker fabric, this disguises the seam allowance.
Useful pressing tools
To finish this post, I want to share some tools that have made my pressing better. They are of course not mandatory, but something to consider if you really get into quilting.
-
Mini iron: I love using my mini iron from Prym for pressing single seams and individual blocks; I use the bigger one (my dressmaking iron) and the ironing board when joining big bocks together and when pressing the whole quilt top.
-
Wool pressing mat: wool is an amazing insulator and it absorbs heat and then quickly releases it, "ironing" both sides of your fabric at the same time. The texture of the wool also grips the fabric in place. The main con? The mats are usually not very big.
-
Wood clapper: or tailor's clapper helps you get crisp, flat pressed seams. To use it, first press your seam with a hot iron. Immediately after lifting the iron, place the clapper over the seam and hold it down until the fabric cools. This traps the heat and steam in the fabric, making the seam as flat as possible. Tailor's clappers are usually made out of hardwood.
- Starch or pressing spray: useful for fabric with wrinkles and creases and to press bulky seams as you are not using steam on your iron.

And that is it for this post! I hope you found it useful and interesting. If you have more pressing tips, don't hesitate to share them below :)
Happy quilting!
Ana
xxx