Replicate and sew your most-loved garments
Hi again everyone! I am back with the second part of the 'how to copycat your clothes' tutorial. If you haven't read the first post, check it out here so that you can follow along.
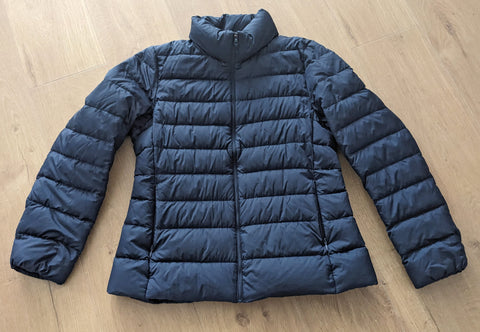
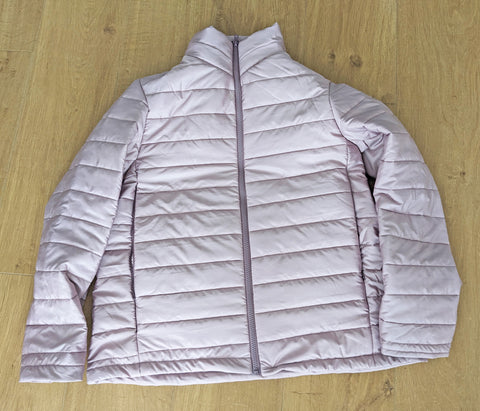
In this second instalment, I am focusing on the actual sewing of my cloned Uniqlo Light-Down jacket copycat version (you can check the original right below) and at the end I am sharing what went wrong and what I will do differently next time.
And now for the steps!
Tutorial part II: Sewing my light-down jacket
Materials and tools used
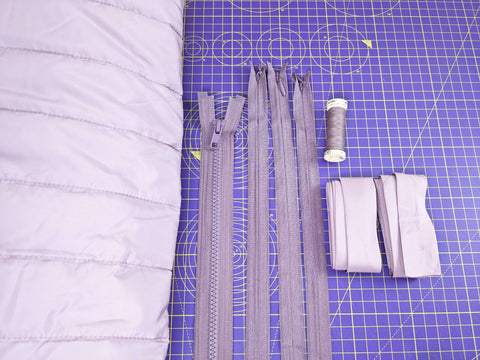
- Fabric:
- Pre-quilted Mind the Maker lilac Thelma Thermal Quilt fabric.
- Haberdashery:
- Matching thread.
- Mind the Maker Thelma bias tape: 50cm.
- Mind the Maker matching invisible zippers: 30cm. (add the measurement when I use them and which type).
- Mind the Maker matching coat zipper: 80cm.
- Optional cute label. I used one from Sarah Hearts.
- Other sewing tools:
- Pins.
- Universal, walking and invisible zipper feet.
- Fabric and embroidery scissors.
- Fabric marker or chalk.
- Unpicker.
- Tape measure.
- Any other sewing tool you usually use.
Steps I followed to sew my jacket
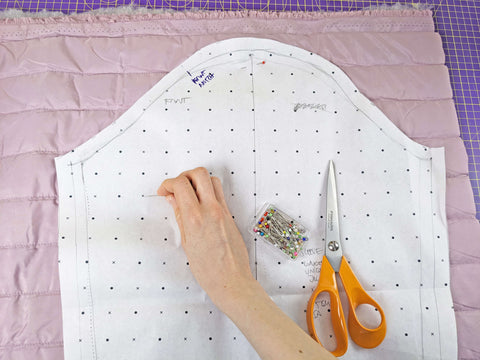
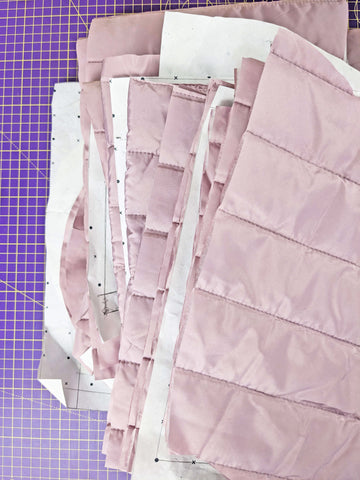
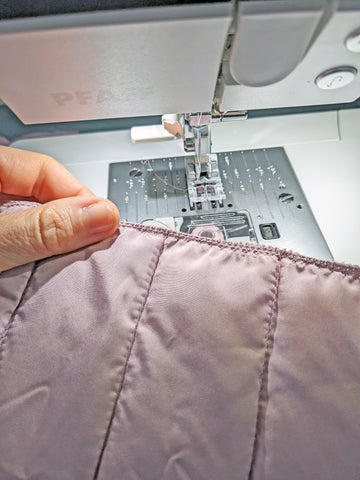
1. First, I cut my fabric using the pattern pieces I drafted and! finished all seams (but the hems of bodice and sleeve pieces) with a special overlock stitch on my sewing machine.
The reason for this? On one hand, I realised it was going to be difficult to use bias binding on all seams (it was my first idea) because how slippery the fabric was and second, I didn't have a similar colour thread on my overlocker and I wanted it to be as close as possible to the fabric itself.

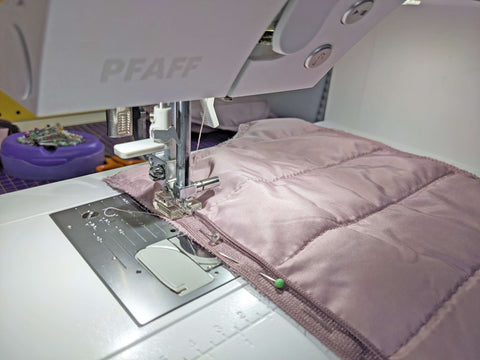
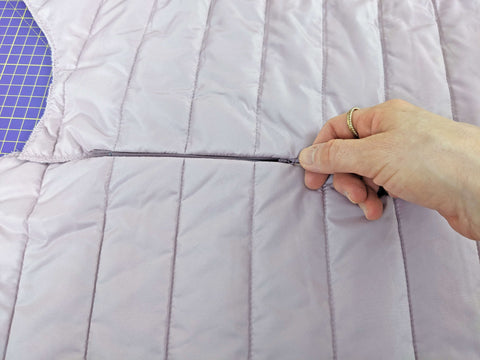
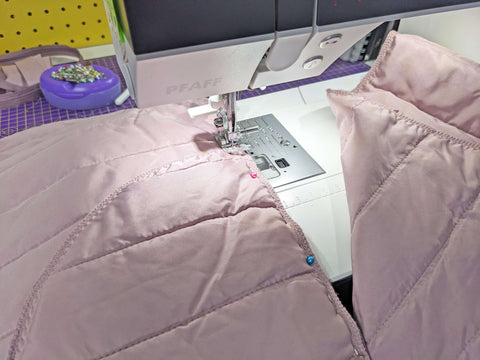
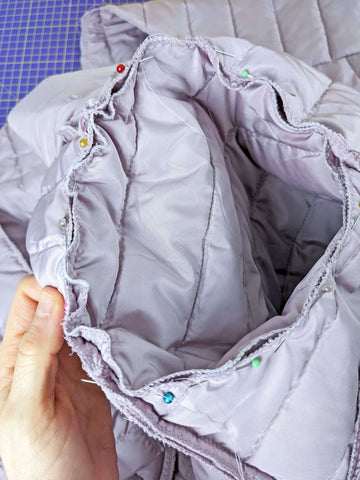
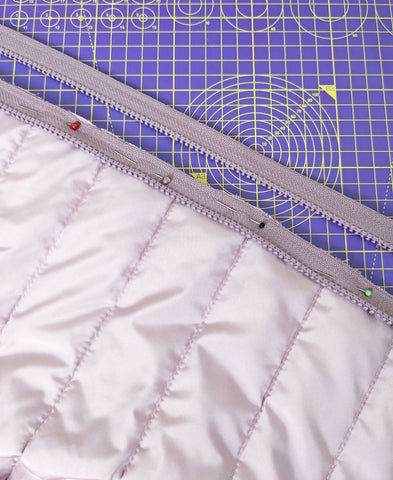
2. Then, with my pattern pieces ready, I started by sewing the invisible pocket zippers to the front bodice and side panels on each side. It was my first time doing an inseam pocket with a concealed zipper, so I had to stop for a minute to figure out if I was doing it correctly. You can follow what I did below (and you can check as well the tutorial I posted about concealed zippers on the blog):

Matching the quilting lines while adding the zippers was not easy task as the fabric moved quite a lot.
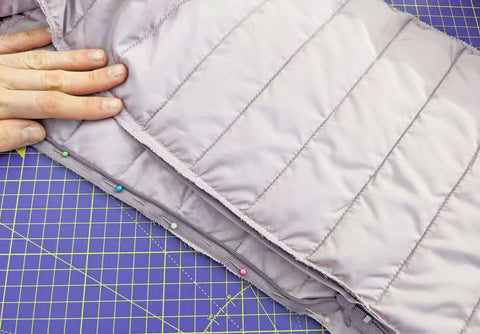
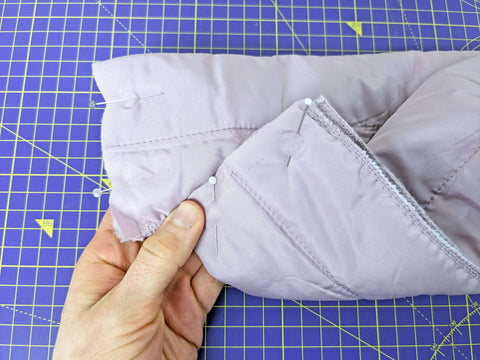
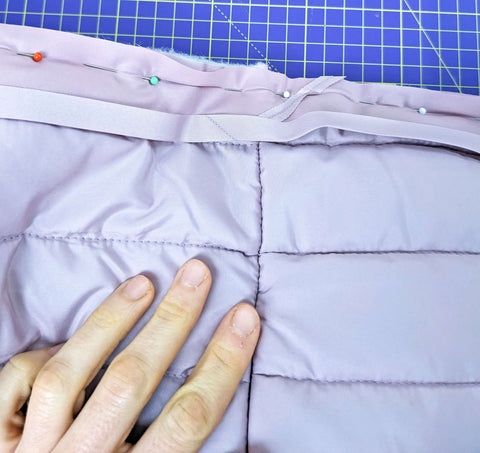
3. With right sides together, I then pinned one pocket to the front bodice panel and another pocket to the side panel, on top of the already stitched zippers. I also measured at which height the original pockets were placed and transferred that to the fabric pieces and pockets.
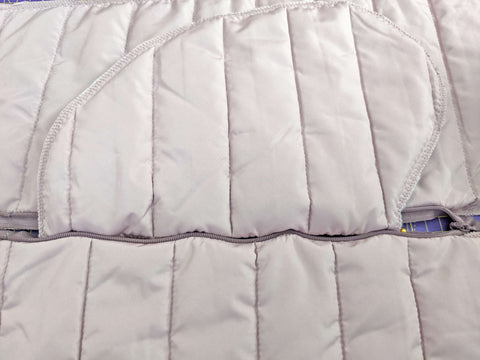
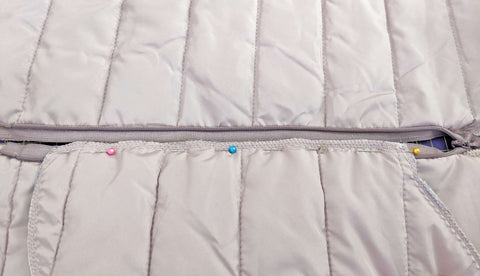
After that, I stitched the pockets in place using a bit less than 1cm seam allowance. Then, I pressed the pockets away from the jacket and repeated on the other side.

When done, I stitched the remaining seam above and below the pockets.
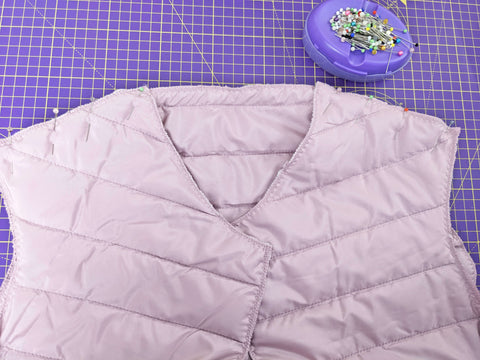
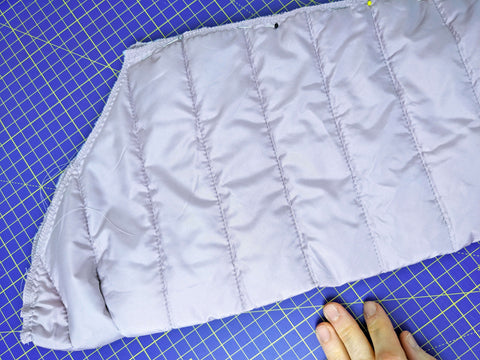
4. With right sides together, I pinned the front bodice to the back bodice along the shoulder seams and stitched them in place. Same, with the seams joining the side panels to the back bodice and pressed all seams open.

5. For the sleeves, I first finished the hem of both pieces with bias tape and added a line of gathering stitches at the crown.
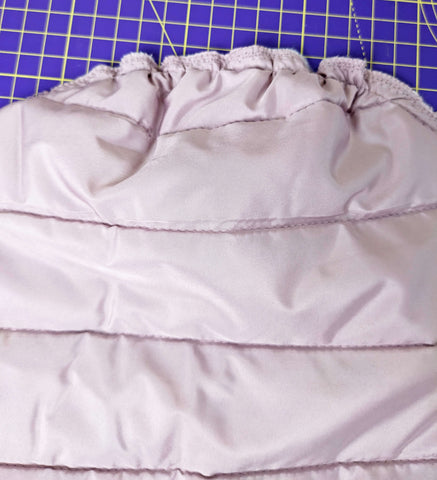
6. Then, I stitched the underarm seam with right sides together. After that, I pinned the sleeve to the armhole and sewed all around, easing the sleeve in. I did this for both sleeves.
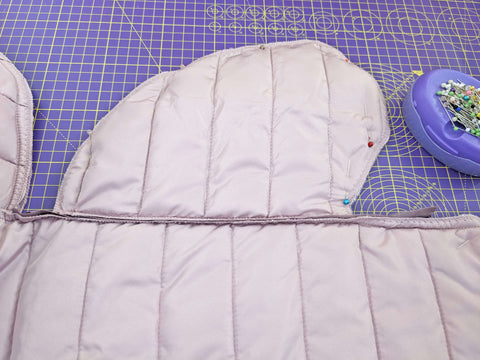
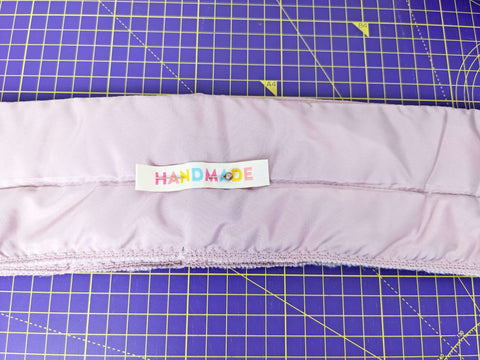
7. Now for the collar. With right sides together, I folded the collar piece in half and sewed together the short edges using a 1cm seam allowance. I turned it to the right side and pressed.
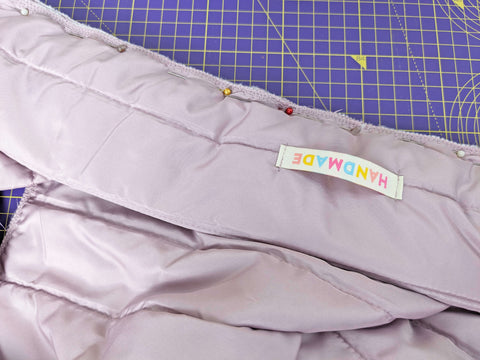
I also added a cute label from Sarah Hearts.
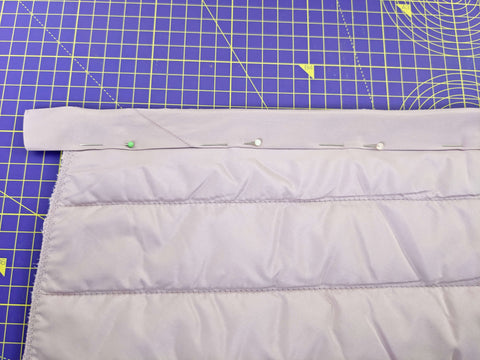
8. Then, I pinned the collar in place along the neckline with right sides together, and stitched, finishing that seam with bias tape and pressing the collar upwards.
9. The next step was to add the last zipper to the front of the jacket; in this case, a normal zipper as the invisible one was not long enough.
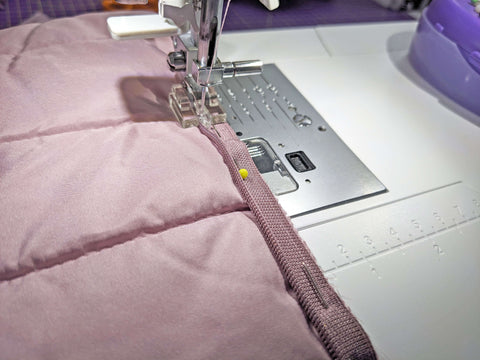
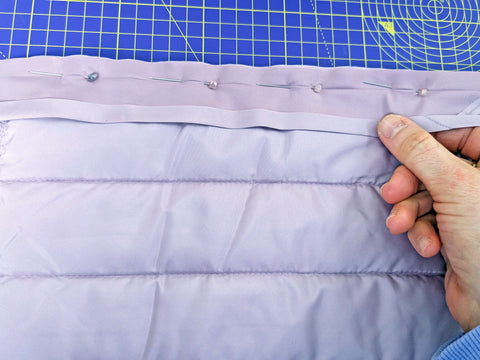
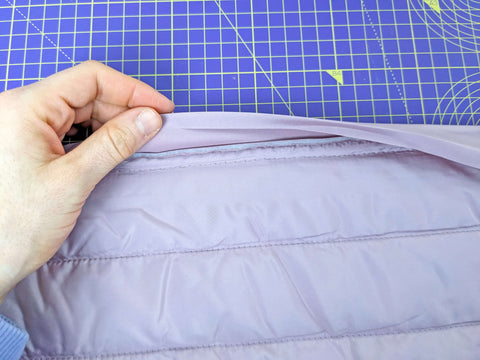
10. To finish up my jacket, I added bias binding to the bottom, a great and neat hemming technique.
And.... I was done! Take a look at the finished jacket below.

What I will do differently next time and mistakes
To me, this was a first test on how to sew this jacket. I should have used a similar but cheaper fabric to make a toile, test different tecniques, make changes, etc... before making the final garment. Basically, I should have followed the same steps I use when working on a new pattern.
Now let's talk about the mistakes I made and what I am doing differently next time:
- As mentioned above, I will do a toile to test the jacket till I feel happy with how it looks.
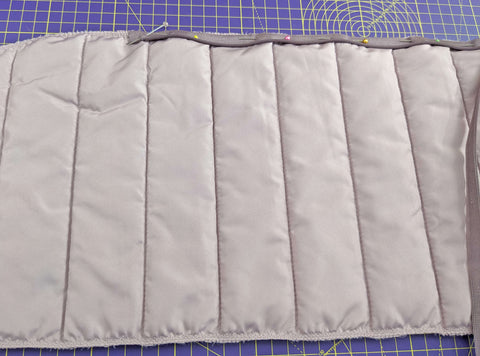
- If using a quilted fabric with stripes, I will make sure when cutting, that everything matches perfectly. The hem was a nightmare! And so was the front.
- Regarding the inseam pockets, they need to be made out of a different material as they were too bulky.
- I will finish the inner seams or overlock all edges with the overlocker and matching thread and not with the overlocking stitch on my domestic machine. Or, I will use bias binding or a combination of both. This way the result will look much more professional.
- The fit is not 100% right as there was some pulling from the collar and around the armholes. The jacket needs to have a bit more room.
- For the sleeves, I will construct them in two different pieces like the original.
- The front panel that joins to the side panel has a princess seam that for some reason I completely ignored!
- The collar is a bit less high.
- And last, I need to create some sort of facings for the front zipper or finish the inner edge with bias binding. Also I will use a different technique to finish the front zipper so that the edge at the top is concealed within the collar.
What do you think, will you give cloning your favourite garments a go? Would you be interested in a similar pattern to this jacket from CocoWawa?
Happy sewing!
Ana
xxx